Since I did not really like the first version of my Bismuth Levitator, I designed and built a new version of it.
Table of contents
Video

General information
This bismuth levitator is the further development of bismuth levitator 1. The reason for the new construction was simply the design. On the one hand the big round bottom plate and the bow seemed a little bulky and on the other hand I did not really like the wood.
My wish was to build the bismuth levitator made of nice dark wood. But it is not easy to find the right one. First I thought about walnut wood. On the many pictures on the internet that looked quite good. But after a long search I saw the wood "Millettia laurentii". I finally ordered it immediately and I must say: Perfect!

Basic construction
→ see Bismuth levitator 1.
Construction drawings
I changed the construction of the bismuth levitator significantly:
The bottom plate is not round but rectangular with beveled corners and the bow is replaced by two stanchions, to which the bismuth- and magnet holders are fixed by aluminum holders. Moreover, the middle parts are octagonal and the position of the magnet can be adjusted with a knurled-head screw.
Here you can download the construction drawings in PDF format: bismuth levitator 2: construction drawings [German]
Manufacturing of the parts and assembly
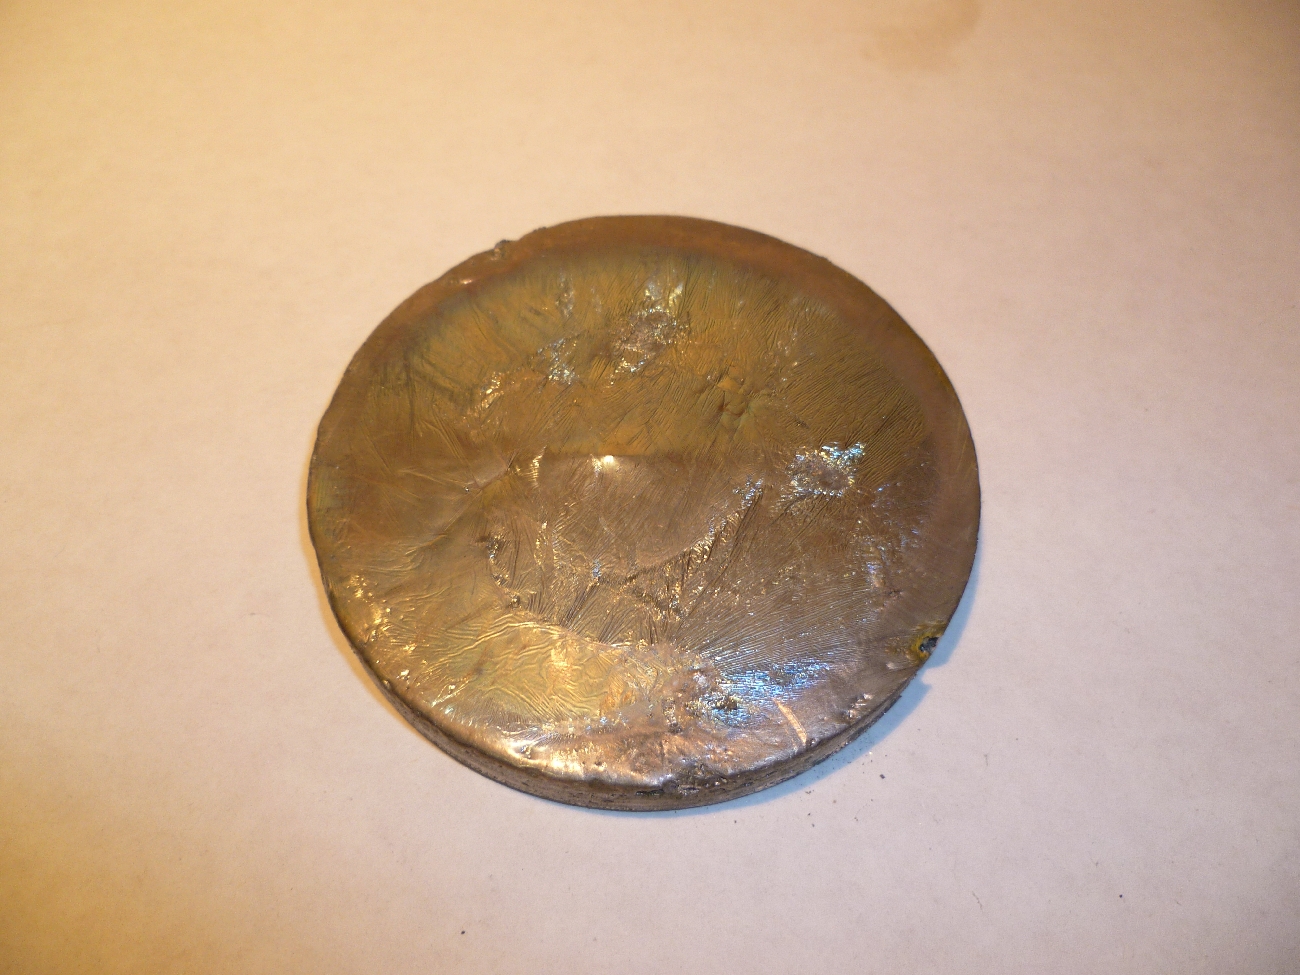
Bismuth plates
First, I reheated the bismuth in a metal bowl with a Bunsen burner and then I milled out two small bismuth plates with my CNC milling machine. Then I sanded and polished the plates:

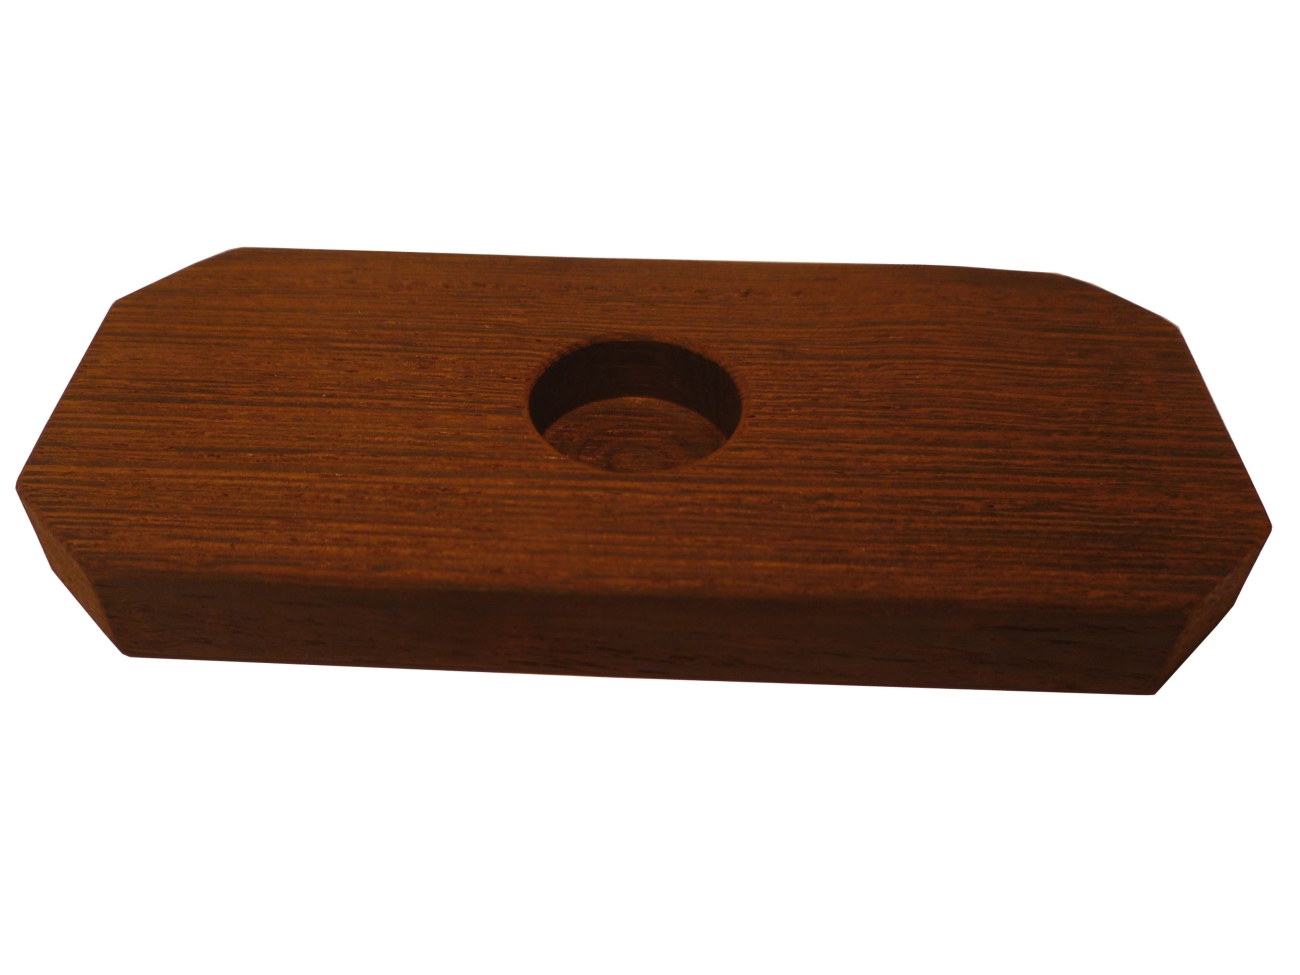
Bottom plate
For the bottom plate I sawed an approximately 12 mm thick plate from the block of wood and subsequently milled all sides to the correct size. Furthermore, a hole was machined into the center of the bottom plate for the bismuth plate and the corners were finally sawed at an angle of 45°.

Stanchions
The stanchions, I also cut out from the block of wood and then I milled them also to the correct size. Afterwards, the bevel was cut with a saw and a hole was drilled into the stanchions to fix them with the bottom plate by wooden dowels.


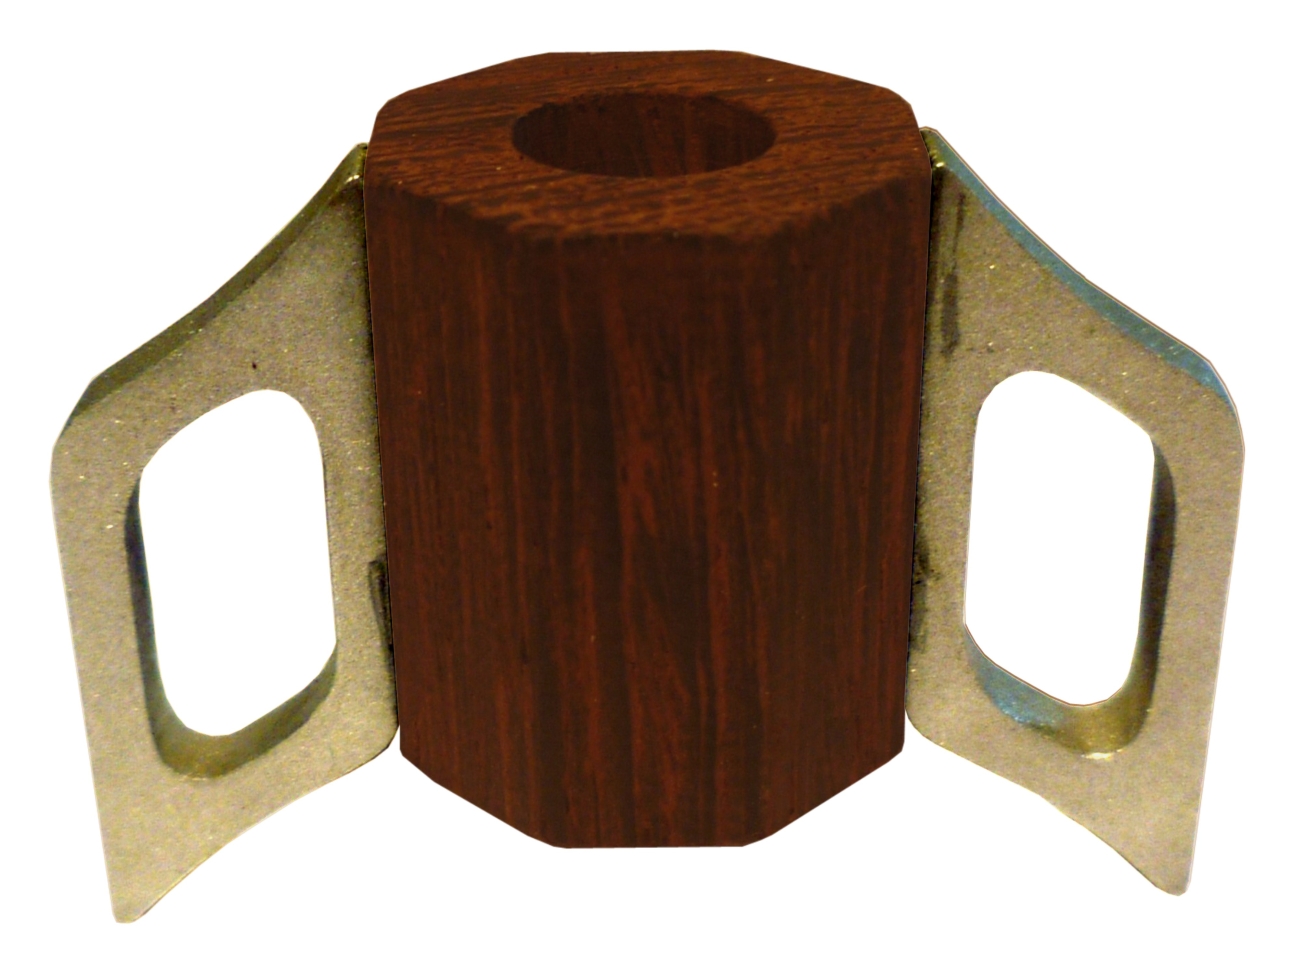
Holder 1
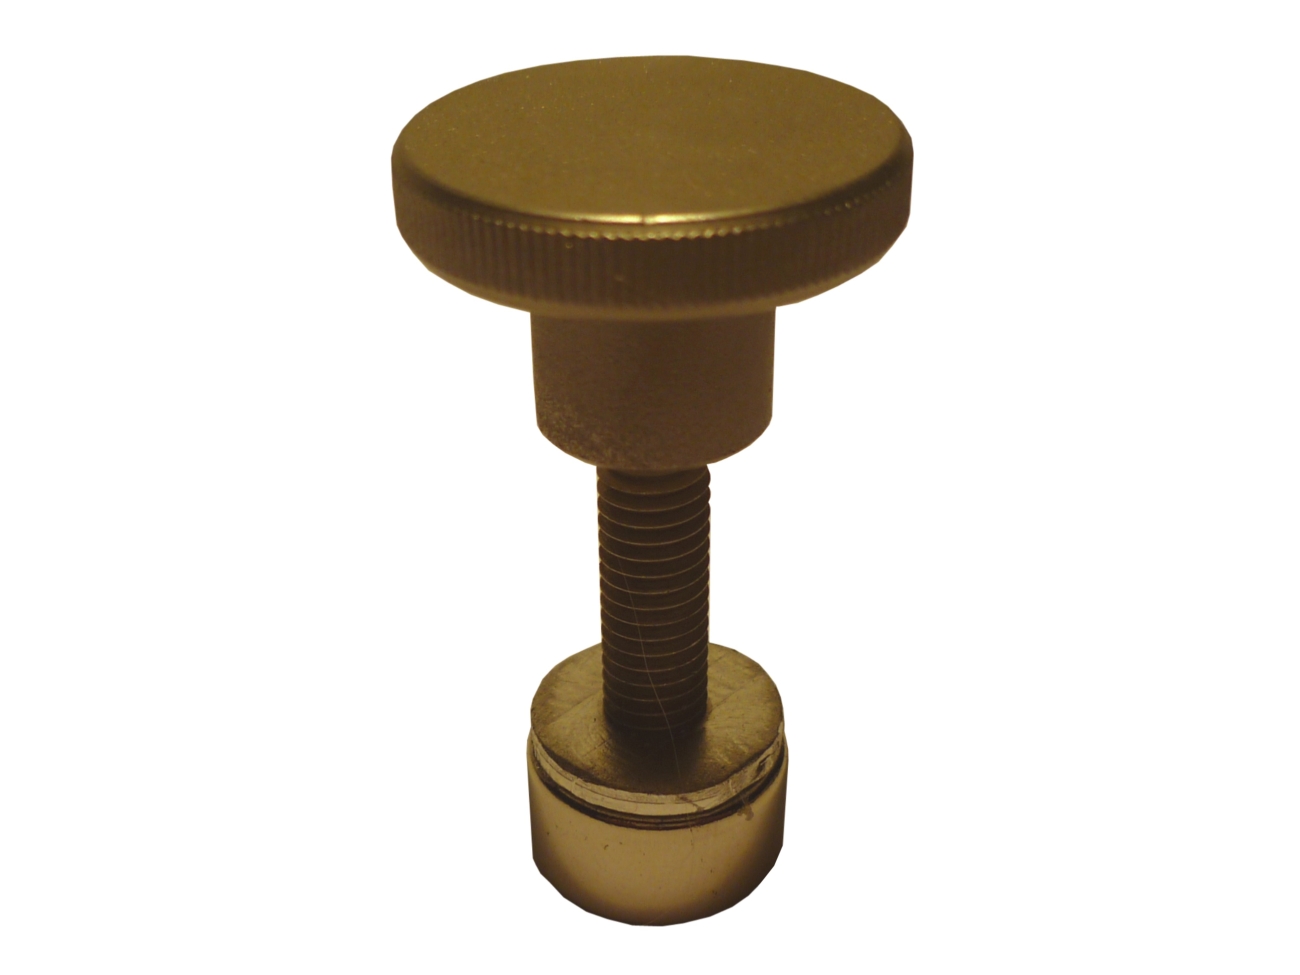
Holder 1 is also made of wood and has a hole having two different diameters in the center. In this holder, a threaded sleeve is glued, so that the position of the magnet can be adjusted later with a knurled-head screw.
Here you can download the g-code for milling holder 1 (without hole) in PDF format: g-code: holder 1
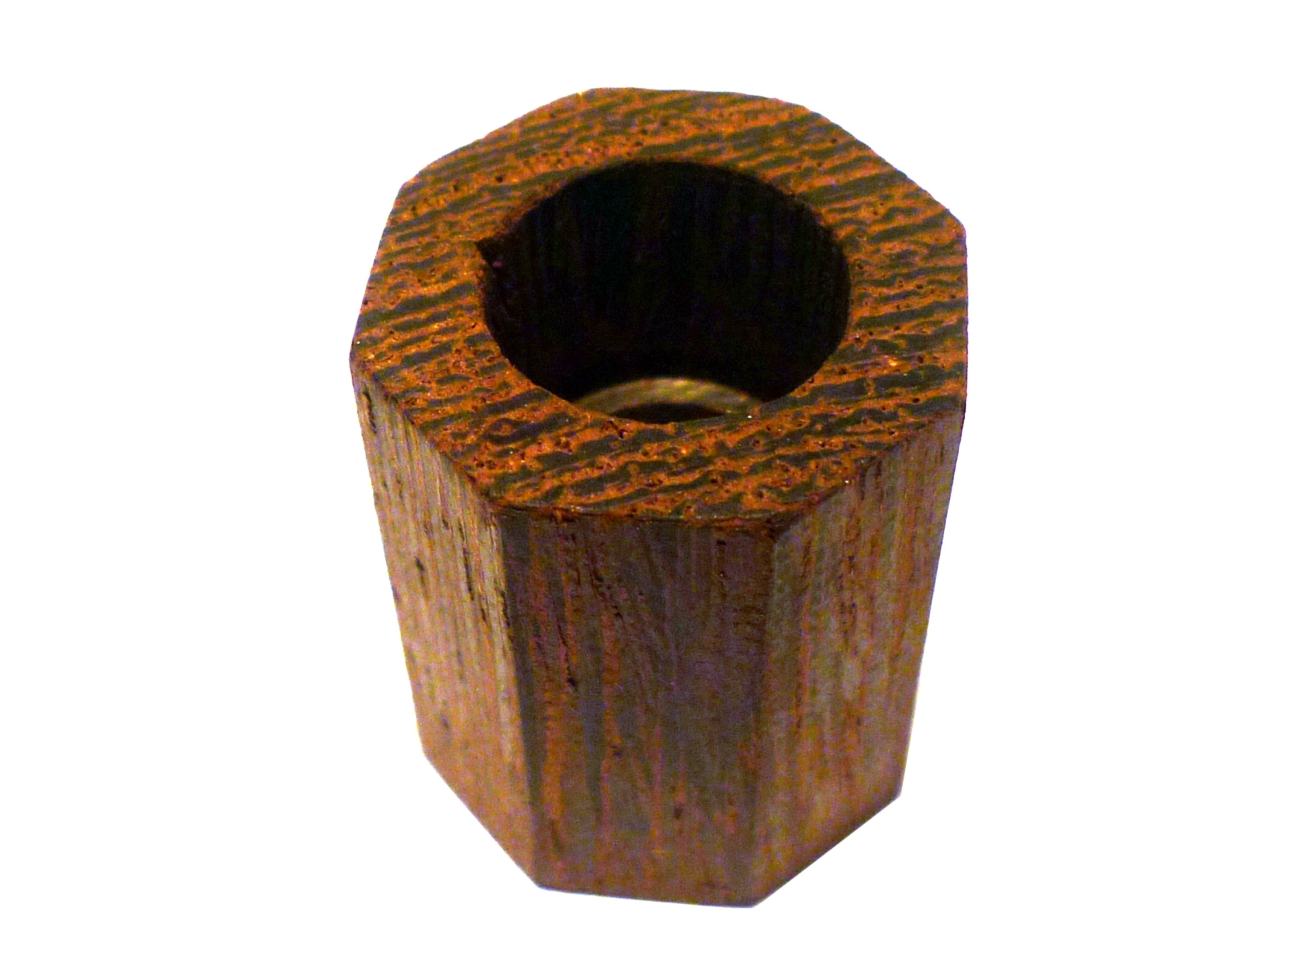
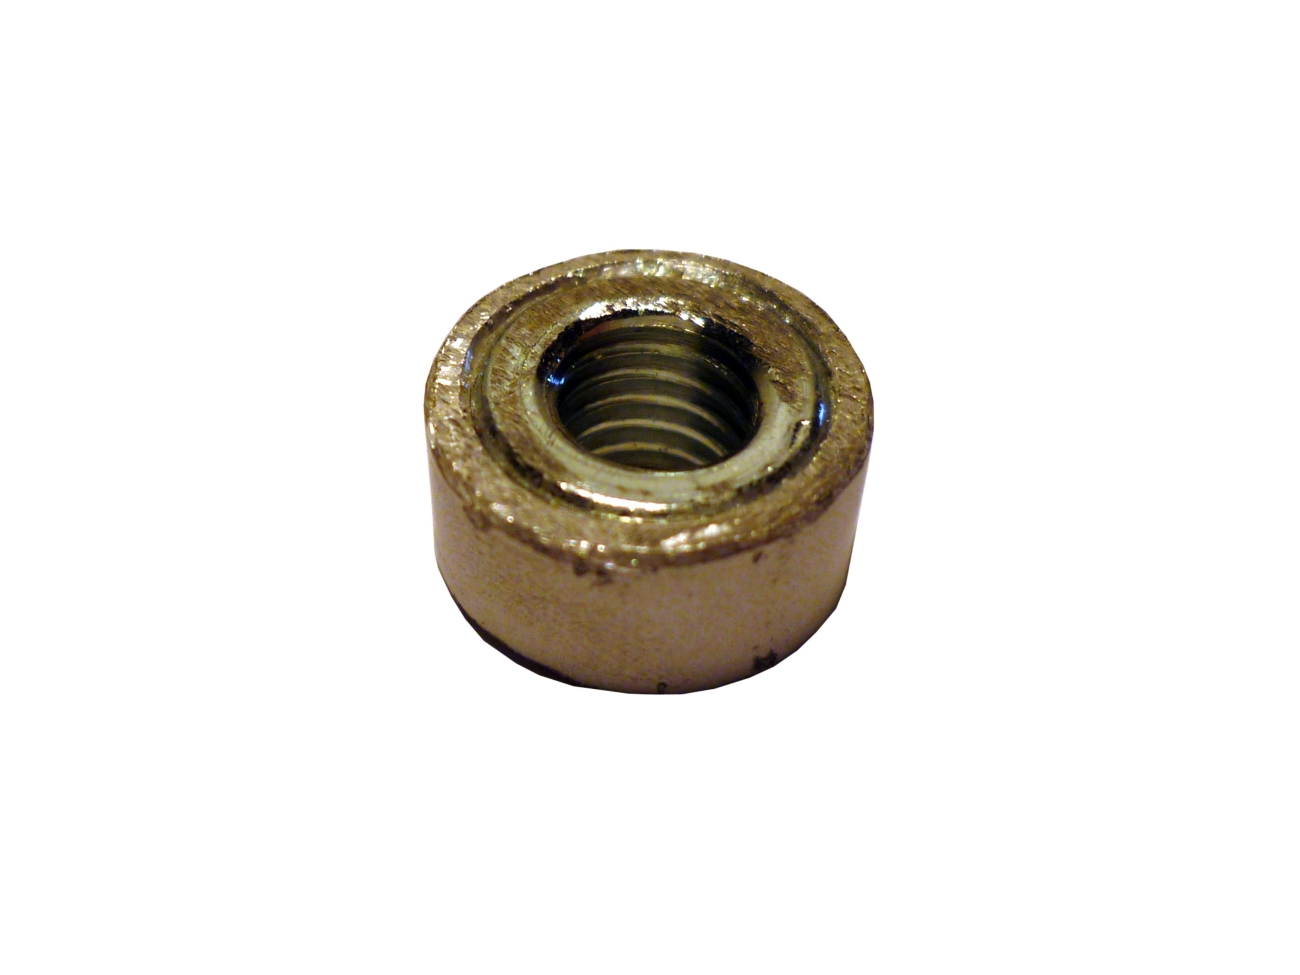


Into the threaded sleeve, a knurled-head screw will be screwed later, on which the magnet will be fixed.

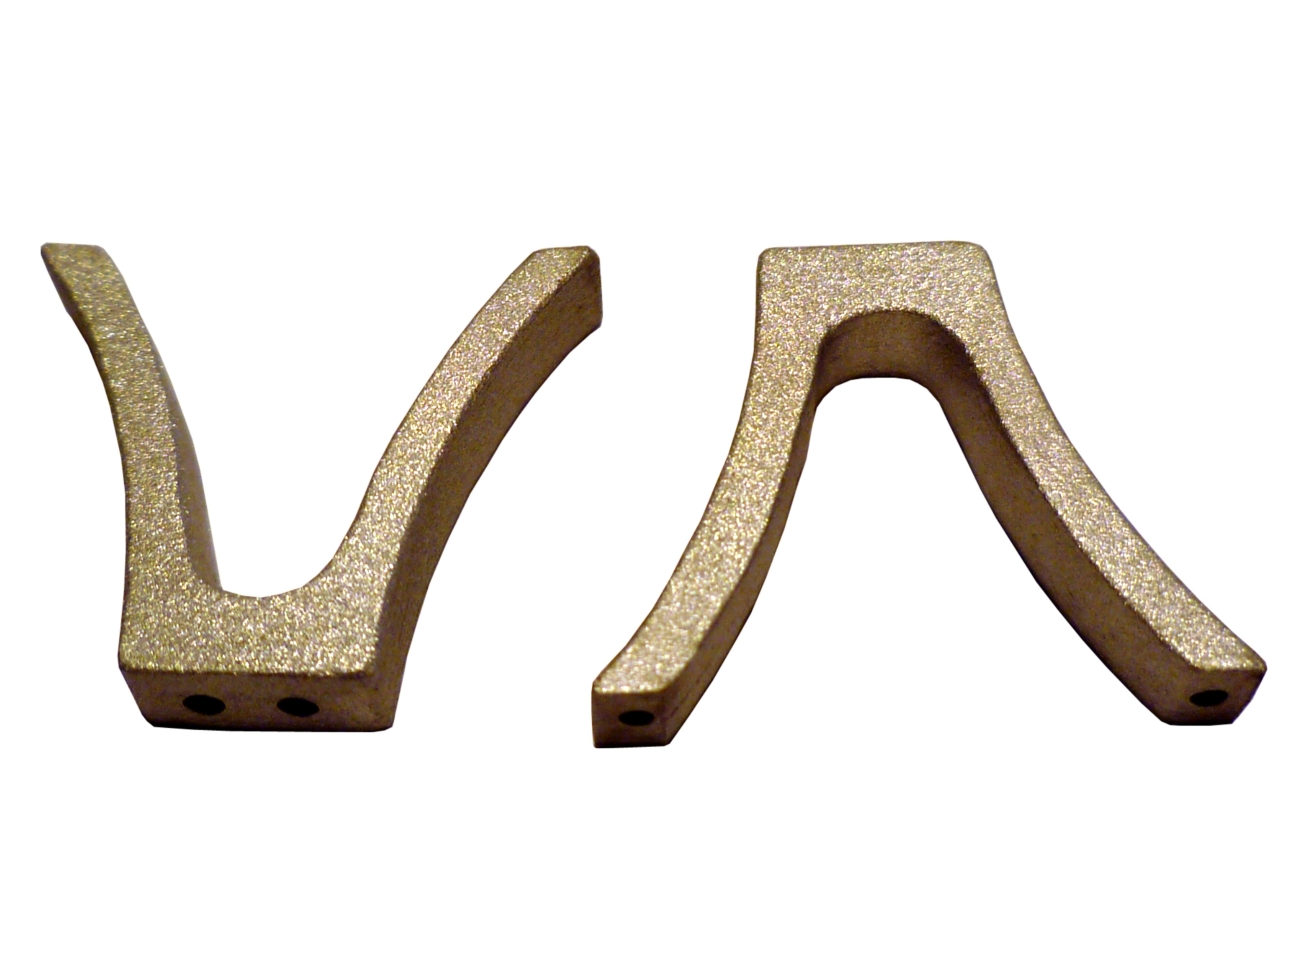
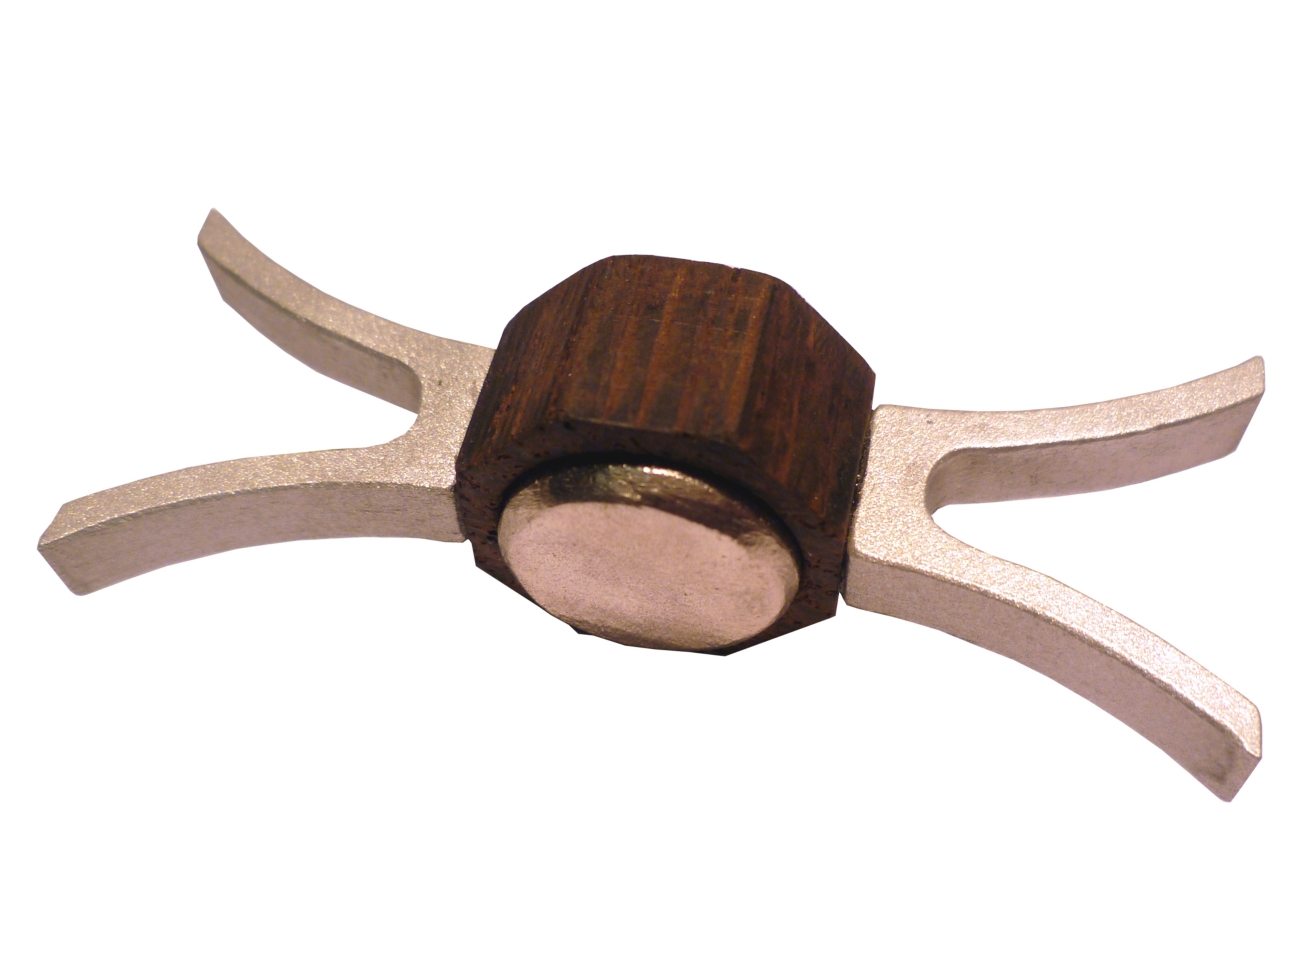
Holder 2
Holder 2 serves as a connection between the holder 1 and the stanchions and is made of aluminum.
Here you can download the g-code for milling holder 2 in PDF format: g-code: holder 2

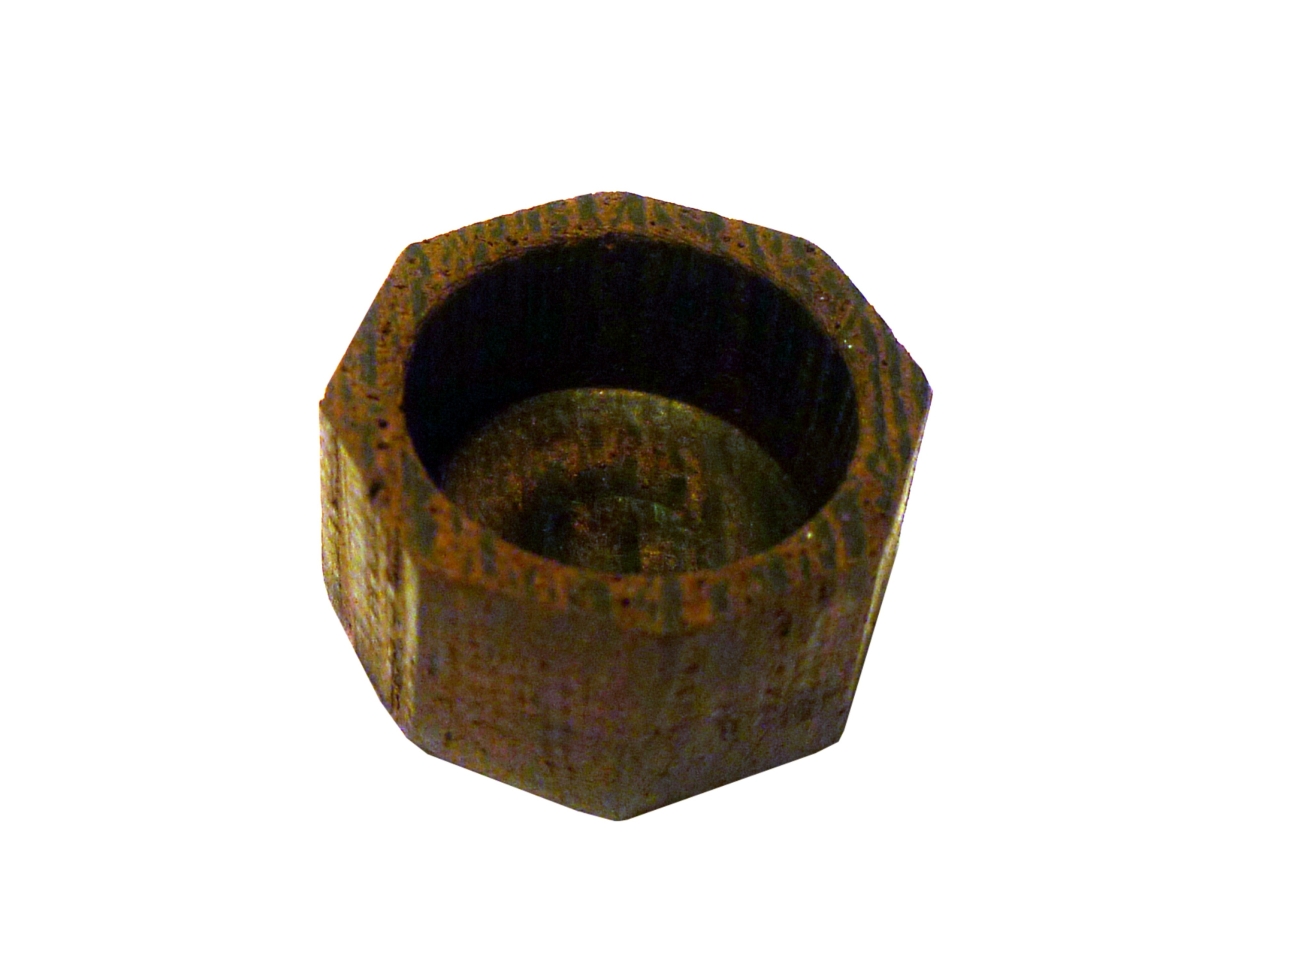
Holder 3
Into the holder 3, the upper bismuth plate will be pressed.
Here you can download the g-code for milling holder 3 (without hole) in PDF format: g-code: holder 3

Holder 4
Holder 4 serves as a connection between the holder 3 and the stanchions and is also made of aluminum.
Here you can download the g-code for milling holder 4 in PDF format: g-code: holder 4
Assembly
The different parts were fixed to each other with brass pins and two-component adhesive and then I glued it with wooden dowels to the bottom plate.


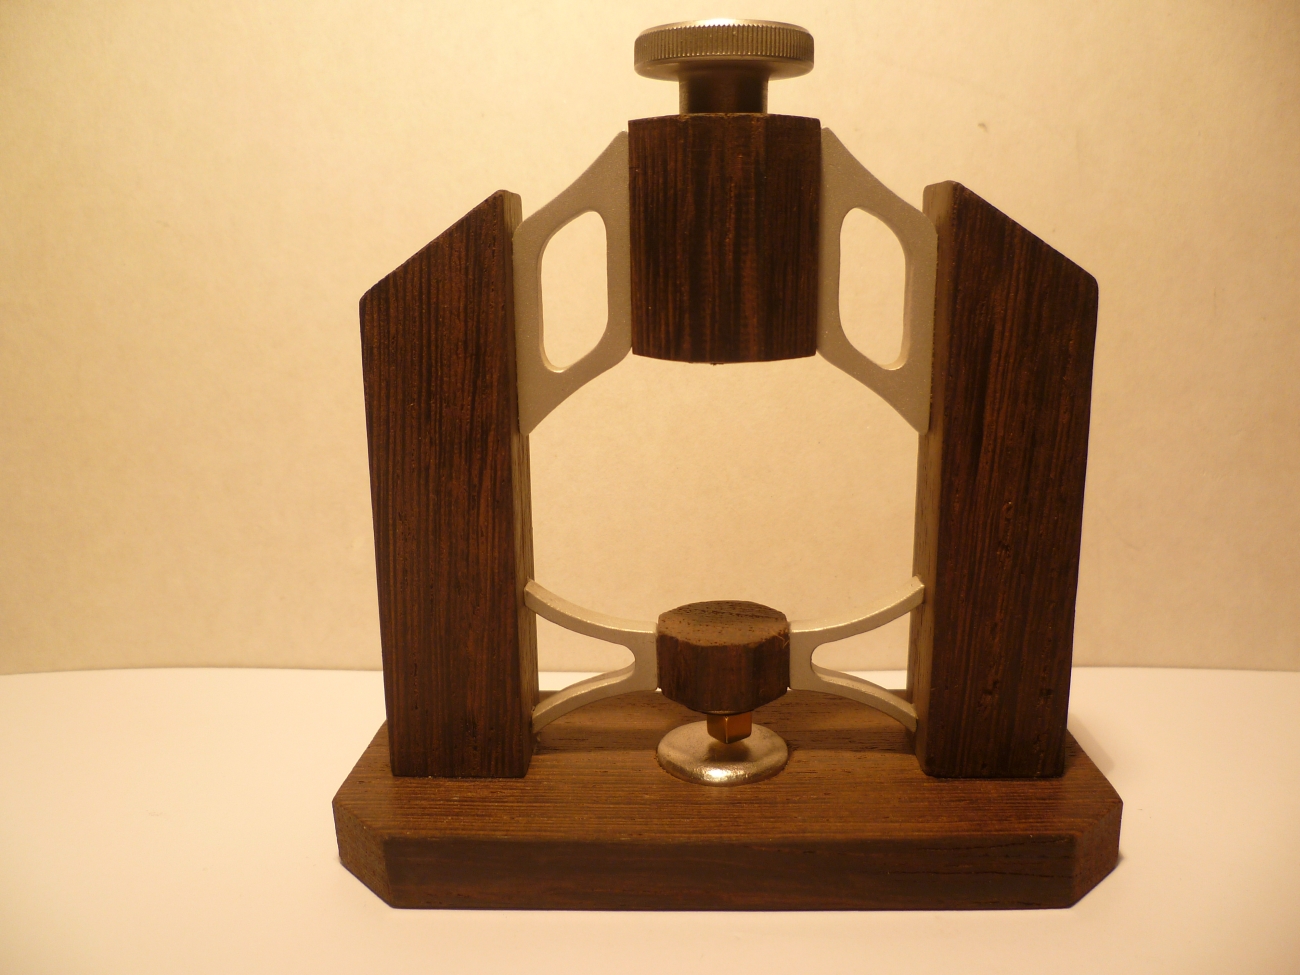
Assembled and "operating" it looks like this:


As you can see, the magnet does not really levitate because it is very difficult to stabilize the magnet. Reasons for this are firstly that the distance between the bismuth plates is minimally larger than the distance of bismuth levitator 1 and secondly the bismuth plates are a bit thinner. To solve the problem, I glued a piece of pyrolytic graphite (which has an even higher diamagnetism) on the upper bismuth plate. Now it works great!


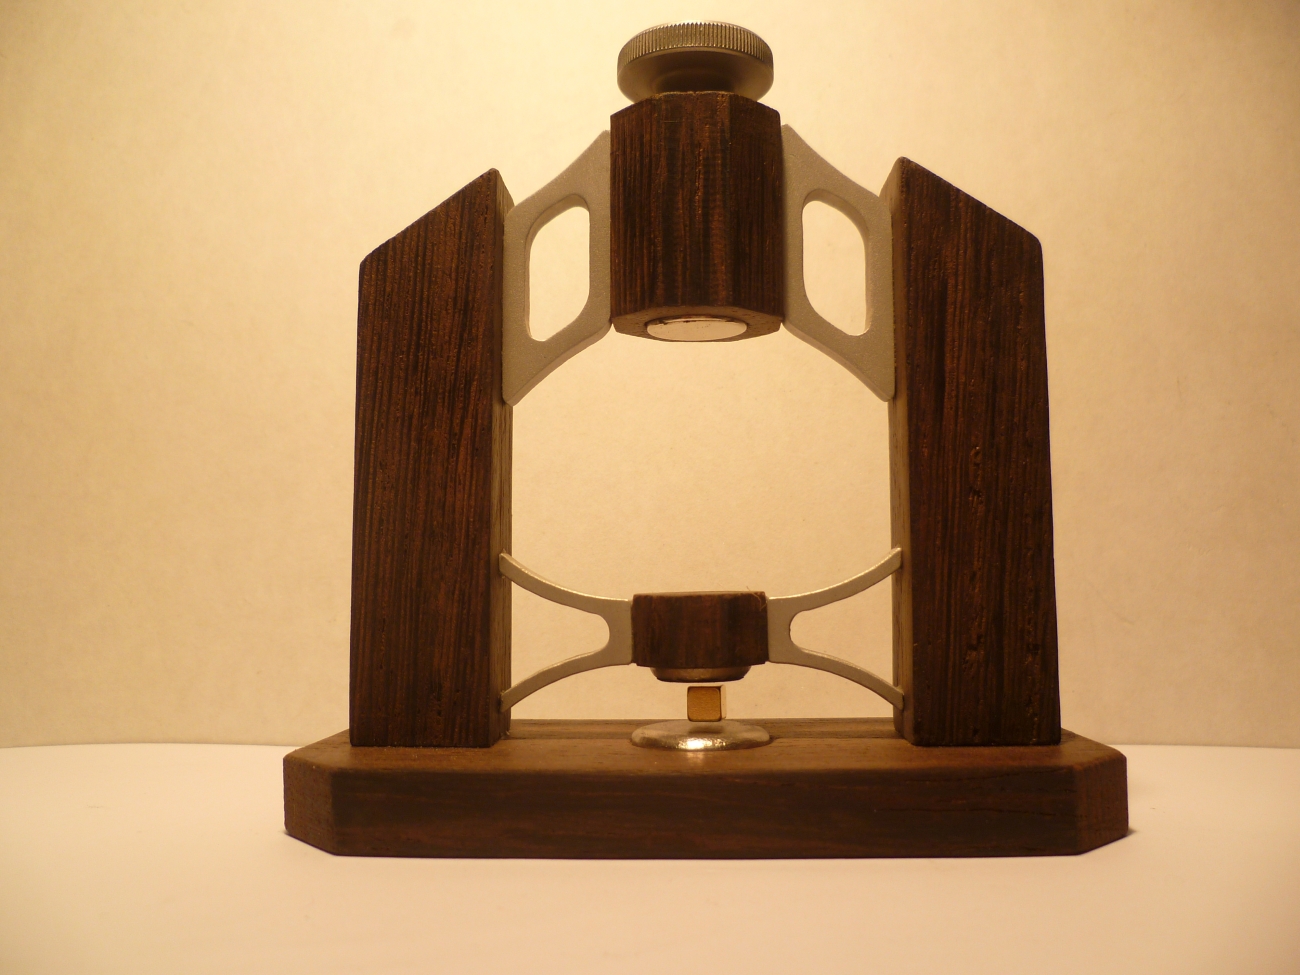
The final bismuth levitator
Here you can see the final bismuth levitator: